
Oster Roaster Oven 22 Quart Manual: A Comprehensive Guide
This guide details the Oster 22-quart roaster oven, offering instructions for roasting, baking, and slow cooking. Download the PDF user guide for detailed operation!
The Oster 22-quart roaster oven is a versatile kitchen appliance designed to simplify meal preparation, especially during holidays or when cooking for large gatherings. This oven excels at roasting, baking, and slow cooking, accommodating turkeys up to 22 pounds. It’s a convenient alternative to using a conventional oven, freeing up valuable oven space and potentially reducing cooking time by up to 30% while using 36% less energy.
This comprehensive guide will walk you through everything you need to know about your Oster roaster oven, from initial setup and understanding its features to mastering various cooking techniques. We’ll also cover essential safety precautions and provide troubleshooting tips to ensure a seamless cooking experience. Accessing the PDF user manual is highly recommended for detailed instructions and diagrams. Remember to SAVE THESE INSTRUCTIONS for future reference, ensuring optimal performance and longevity of your appliance.
Understanding the Key Features
The Oster 22-quart roaster oven boasts several key features designed for convenience and optimal cooking results. A standout is the self-basting lid, which continuously recirculates moisture, ensuring incredibly tender and flavorful roasts. This eliminates the need for manual basting, saving you time and effort. The spacious 22-quart capacity easily handles large cuts of meat or substantial casseroles.
The oven features adjustable temperature controls, allowing for precise cooking. Removable roasting and warming racks provide flexibility for different cooking needs. The removable roasting pan simplifies cleaning. It’s crucial to use oven mitts when handling the hot pan! Refer to the PDF user manual for specific temperature settings and cooking times. Understanding these features will unlock the full potential of your Oster roaster oven, making meal preparation a breeze.
Safety Precautions and Important Warnings

Important: Always prioritize safety when operating your Oster roaster oven. Do not use the appliance for anything other than its intended purpose. Save these instructions for future reference. Ensure the oven is placed on a stable, heat-resistant surface away from flammable materials.
Never immerse the oven base, cord, or plug in water or other liquids. Always unplug the oven when not in use and before cleaning. Use oven mitts to protect your hands when handling hot components, particularly the removable roasting pan. Avoid touching hot surfaces.
Supervise children closely when the oven is in use. Do not operate the oven with a damaged cord or plug. If the oven malfunctions, discontinue use and consult the PDF manual or contact customer support. Ignoring these warnings could result in injury or damage.

Getting Started with Your Oster Roaster Oven
Begin by unpacking your Oster oven and familiarizing yourself with its components. Refer to the PDF manual for detailed setup instructions before first use.
Unboxing and Initial Setup
Carefully remove your new Oster 22-quart roaster oven from its packaging. Ensure all components are present, including the roasting pan, rack, and lid. Inspect for any visible damage that may have occurred during shipping. Before the initial setup, thoroughly wash the removable roasting pan and rack with warm, soapy water; this removes any manufacturing residue.
Place the roaster oven on a stable, heat-resistant surface, away from flammable materials. It’s crucial to have adequate ventilation around the appliance. Familiarize yourself with the control panel – the PDF manual provides a detailed diagram. Before plugging in, verify your voltage matches the oven’s requirements. A first-time burn-off is recommended; this involves running the oven empty at a set temperature to eliminate any potential odors from the heating elements. Consult the manual for specific burn-off instructions.
Understanding the Oven Components
The Oster 22-quart roaster oven comprises several key components. The main unit houses the heating elements and control panel. The removable roasting pan, typically made of steel, is where food is placed for cooking. A roasting rack supports the food, allowing for even heat circulation and preventing it from sitting in drippings.
The self-basting lid is a crucial feature, designed to recirculate moisture, resulting in tender and juicy roasts. The control panel features temperature settings and time controls, allowing for precise cooking. Some models include settings for roasting, baking, and slow cooking. The handles provide safe lifting and transport of the hot oven and pan. Refer to the PDF manual for a detailed diagram identifying each component and its function. Understanding these parts ensures safe and efficient operation of your Oster roaster oven.
First-Time Use: Preparing the Oven
Before your initial use of the Oster 22-quart roaster oven, thorough preparation is essential; Begin by removing all packaging materials and washing the removable roasting pan and roasting rack with warm, soapy water. Rinse and dry completely. Wipe down the interior of the oven with a damp cloth.
It’s recommended to perform a test run to familiarize yourself with the oven’s operation. Place the roasting pan and rack inside the oven. Set the temperature to 350°F (175°C) and the timer for 30 minutes. This helps burn off any manufacturing residues and ensures proper functionality. A slight odor may be present during this initial use, which is normal. Always SAVE THESE INSTRUCTIONS and consult the PDF manual for detailed guidance. This initial step prepares your oven for delicious cooking!
Cooking with Your Oster Roaster Oven
The Oster roaster oven excels at roasting up to a 22-pound turkey, baking flavorful dishes, and slow cooking tender meals – saving time and energy!
Roasting: Achieving Perfect Results
Roasting with your Oster 22-quart roaster oven delivers incredibly moist and flavorful results. The self-basting lid is key, continuously recirculating moisture to prevent drying, ensuring tender roasts every time. This feature significantly enhances the quality of your cooked meats.
For optimal results, preheat the oven to the desired temperature. Place your seasoned roast directly into the removable roasting pan. The oven’s capacity comfortably accommodates a 22-pound turkey, making it ideal for holiday gatherings or large family meals.
Monitor the internal temperature of the roast using a meat thermometer to ensure it reaches a safe and desired level of doneness. Remember, the Oster roaster oven can save you up to 30% time and 36% energy compared to a conventional oven, making it an efficient choice for your cooking needs. Consistent temperature control is vital for perfect roasting.
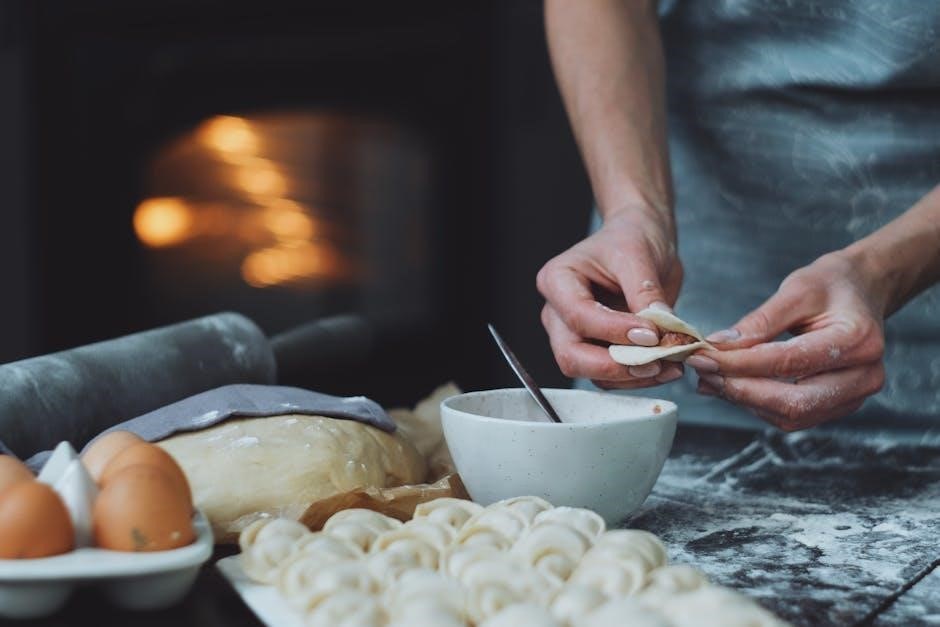
Baking: Cakes, Pies, and More
The Oster 22-quart roaster oven isn’t just for roasting; it’s a versatile baking companion! You can successfully bake cakes, pies, cookies, and even casseroles within this appliance. Ensure you use oven-safe bakeware that fits comfortably inside the roasting pan.
Preheating is crucial for consistent baking results. Follow your recipe’s temperature and time guidelines, but be prepared to slightly adjust them, as roaster ovens may differ from conventional ovens. Start by checking for doneness a little earlier than the recipe suggests.
The even heat distribution within the Oster oven promotes uniform baking. Remember to use oven mitts when handling hot bakeware. This appliance offers a convenient alternative to heating up your entire kitchen with a standard oven, saving energy and keeping your home cooler.
Slow Cooking: Tender and Flavorful Meals
The Oster 22-quart roaster oven excels at slow cooking, transforming tougher cuts of meat into incredibly tender and flavorful meals. This function is perfect for pot roasts, pulled pork, stews, and chili. The consistent, low heat gently breaks down fibers, resulting in exceptionally moist and delicious results.
When slow cooking, it’s generally recommended to use the ‘Low’ setting for extended periods – often 6-8 hours or more – depending on the recipe. Ensure ingredients are adequately covered with liquid to prevent drying. The self-basting lid helps retain moisture, further enhancing tenderness.
Remember to always follow food safety guidelines when handling raw meat. The large capacity of this roaster oven makes it ideal for preparing meals for families or gatherings. Enjoy the convenience of a home-cooked meal with minimal effort!
Using the Manual and Troubleshooting
Access the Oster roaster oven PDF manual for detailed instructions and settings. It helps decode the control panel and offers solutions for common issues.
Locating the Oster Roaster Oven User Manual (PDF Download)
Finding your Oster 22-quart roaster oven user manual is straightforward! Oster makes the comprehensive guide readily available as an optimized PDF document for easy download and viewing. This digital format ensures you have quick access to all the instructions and information you need right at your fingertips.
Accessing the manual online allows you to search for specific topics, print relevant sections, or save it directly to your device for offline use. The PDF version contains detailed explanations of all features, cooking tips, safety precautions, and troubleshooting advice. It’s an invaluable resource for both first-time users and experienced cooks alike.
Simply search online for “Oster Roaster Oven User Guide PDF” to locate the official download link. Ensure you are downloading from a reputable source to guarantee the authenticity and safety of the file. Having this manual readily available will greatly enhance your cooking experience and help you get the most out of your Oster roaster oven.
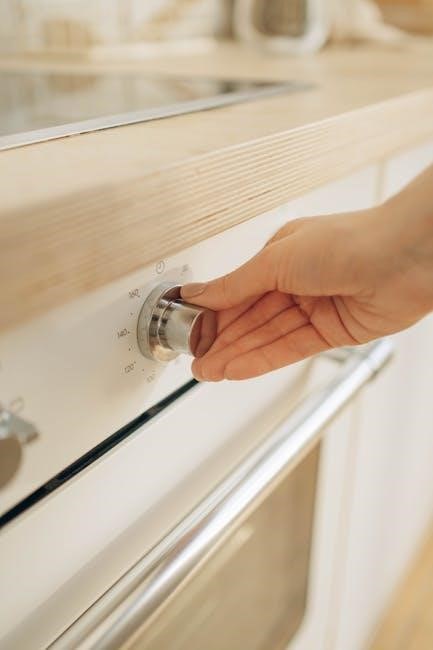
Decoding the Control Panel and Settings
The Oster 22-quart roaster oven features an intuitive control panel designed for ease of use. Typically, you’ll find separate controls for temperature and timer settings. Temperature is adjusted using a dial, often ranging from a warming setting up to 450°F, allowing for versatile cooking options.
The timer function lets you set precise cooking durations, automatically switching the oven to a ‘Warm’ setting once the time elapses. This prevents overcooking and keeps your food at a safe serving temperature. Familiarize yourself with the ‘Bake’ and ‘Roast’ settings, understanding their specific heat distribution characteristics.
Understanding these settings is crucial for achieving optimal results. Remember to always refer to your recipe for recommended temperatures and cooking times. Save these instructions for future reference! Proper use of the control panel ensures consistent and delicious meals every time you use your Oster roaster oven.

Common Issues and Troubleshooting Tips
If your Oster roaster oven isn’t heating, first ensure it’s properly plugged in and the outlet is functioning. Check the temperature setting – it may be set too low. If the oven shuts off prematurely, the timer might have expired, or a safety feature could be activated due to overheating.
For uneven cooking, ensure the roasting pan is centered and food isn’t overcrowded. Self-basting lids can sometimes cause moisture buildup; occasionally lift the lid to release steam. If you encounter issues with the removable roasting pan, verify it’s correctly seated.
Always prioritize safety; never attempt to repair the oven yourself. Save these instructions and consult the full user manual PDF for detailed troubleshooting. Remember to unplug the oven before cleaning or inspecting any components. If problems persist, contact Oster customer support for assistance.
Care and Maintenance
Regular cleaning extends your Oster roaster oven’s life. Remove the roasting pan for easy cleaning; store the oven safely when not in use.
Cleaning the Roaster Oven
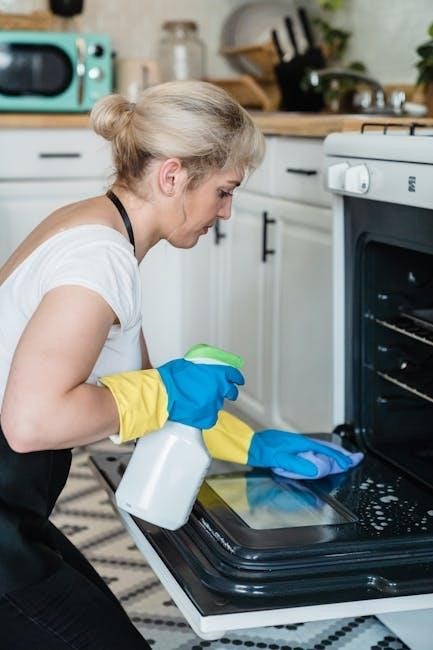
Maintaining your Oster roaster oven’s cleanliness is crucial for optimal performance and longevity. Always ensure the oven is completely cool and unplugged before beginning any cleaning procedures. Begin by removing the roasting pan and any associated racks or accessories. These components are typically dishwasher-safe, offering a convenient cleaning option.
For the oven’s interior, wipe down surfaces with a damp, non-abrasive cloth. Avoid harsh chemicals or scouring pads, as these can damage the non-stick coating. Stubborn food residue may require a paste of baking soda and water, left to sit for a short period before gentle scrubbing.
The exterior of the oven can be cleaned with a similar damp cloth. Pay attention to the control panel, ensuring no moisture enters the buttons or display. Thoroughly dry all components before reassembling and storing the oven. Proper cleaning will ensure your Oster roaster oven remains a reliable kitchen companion for years to come.
Storing Your Oster Roaster Oven
Proper storage extends the life of your Oster roaster oven. Before storing, ensure the oven is completely cool, clean, and dry. This prevents mildew and unpleasant odors. Detach the roasting pan and any racks, storing them inside the oven cavity to save space and keep components together.
If you have the original packaging, utilizing it for storage is ideal, providing protection against dust and potential damage. If not, consider a large, sturdy box or a clean, dry storage container. Store the oven in a cool, dry location, away from direct sunlight and extreme temperatures.
Avoid stacking heavy items on top of the oven, as this could cause dents or damage the control panel. Periodically check the stored oven to ensure it remains clean and dry. Following these guidelines will keep your Oster roaster oven in excellent condition for future use.
Removable Roasting Pan Care
The removable roasting pan is crucial for easy cleaning and versatile cooking with your Oster oven. After each use, allow the pan to cool completely before washing. Most models feature a non-stick coating; hand washing with warm, soapy water is recommended to preserve this coating and prevent scratches.
Avoid using abrasive cleaners, scouring pads, or steel wool, as these can damage the non-stick surface. For stubborn food residue, soak the pan in warm, soapy water for several minutes before gently scrubbing; The pan is often dishwasher safe, but check your specific model’s manual for confirmation.
Ensure the pan is thoroughly dried before storing to prevent rust or corrosion. Handle the pan with oven mitts when hot. Proper care of the roasting pan ensures optimal performance and longevity, enhancing your cooking experience.